First-Time Setup — Castle S4
Card Present › Castle S4 › First-Time Setup
Power up, connect to Wi-Fi, and activate your terminal in four steps
📐 DIAGRAM4-step visual flow: (1) Unbox & inspect → (2) Power up → (3) Connect Wi-Fi → (4) Activate. Each step shown as a box with icon.
Step 1 — Inspect and Unbox
- 1Check the outer packaging for tamper-evident seals. All seals should be intact.Seals intact — safe to open. If any seal is broken, contact TWPayz before proceeding.
- 2Check the terminal model shown on the box matches your order confirmation.Correct model confirmed.
- 3Remove the terminal and all accessories from the packaging.Terminal, power cable, paper roll, and quick-start card accounted for.
Step 2 — Power Up
- 1Lift the rubber flap on the side of the terminal (next to the power button). Connect the power cable.Charging indicator may appear if battery is low.
- 2Press and hold the power button until the screen illuminates (2–4 seconds).Device boots. TWPayz loading screen appears.
- 3Wait for the home screen to fully load. Do not press anything during boot.Android home screen with installed apps is visible.
Step 3 — Connect to Wi-Fi
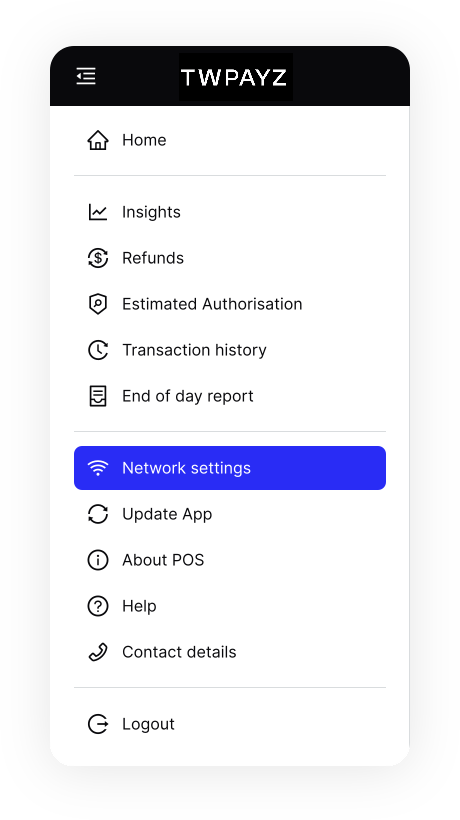
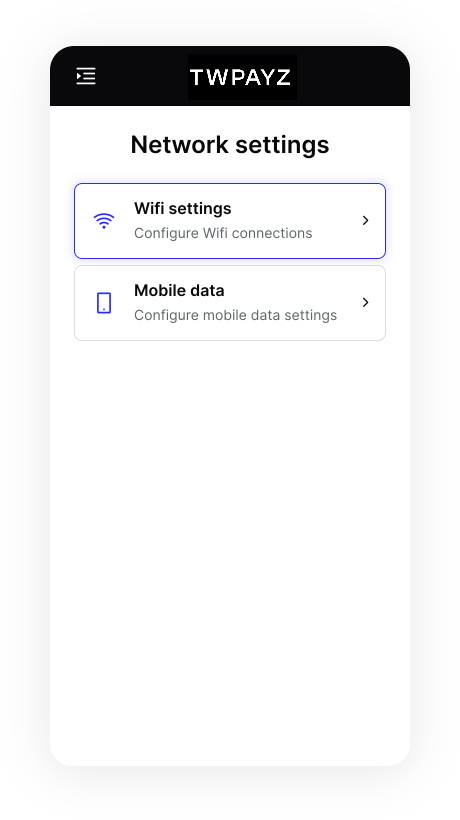
- 1On the home screen, tap the Cradle app.Cradle configuration app opens.
- 2Tap Wi-Fi Setting.Wi-Fi settings screen opens.
- 3Toggle Use WiFi to ON.Device scans for available networks.
- 4Tap your network name from the list. Enter your Wi-Fi password and tap Connect."Connected" appears beneath your network name.
- 5Tap Back to return to the home screen.Home screen visible. Wi-Fi icon appears in the status bar.
Step 4 — Activate the Terminal
📸 SCREENSHOTTWPayz POS app home screen showing "Downloading configuration…" progress bar
📸 SCREENSHOTActivation complete — TWPayz POS home screen with "Login" button visible
- 1Tap the TWPayz POS app on the home screen.App opens and automatically begins downloading configuration settings from TWPayz servers.
- 2Wait for the download to complete. This takes 30–90 seconds on a stable connection. Do not close the app or power off the terminal.Progress bar reaches 100%. Activation complete message appears.
- 3Tap Login to access the TWPayz POS home screen. Your terminal is now ready to take payments.TWPayz POS home screen displays with payment options: Purchase, Pre-Auth, Keyed Entry, MOTO.
If you see "Device not activated": The configuration download failed — usually due to a dropped Wi-Fi connection. Ensure Wi-Fi is stable, restart the terminal (hold power button 10+ seconds), reopen the TWPayz POS app, and try again. If the error persists after 2 attempts, contact TWPayz support with your Terminal ID: +44 20 3129 9840.